CMS Implementation Instructions
This page provides instructions on how to integrate Clickio Consent with popular Content Management Systems (CMS). If your preferred CMS is missing, please write to support@clickio.com. You can also implement Clickio Consent using Google Tag Manager.
CMS Plugins
Clickio Consent offers a number of dedicated CMS plugins that make implementation quick and simple:
- Clickio Consent Wordpress Plugin
- Clickio Consent Drupal Plugin
- Clickio Consent Typo3 Extension
- Clickio Consent Bubble Plugin
WordPress
1. Download Clickio Consent WP Plugin
2. Go to WP admin > Plugins > Add New Plugin.
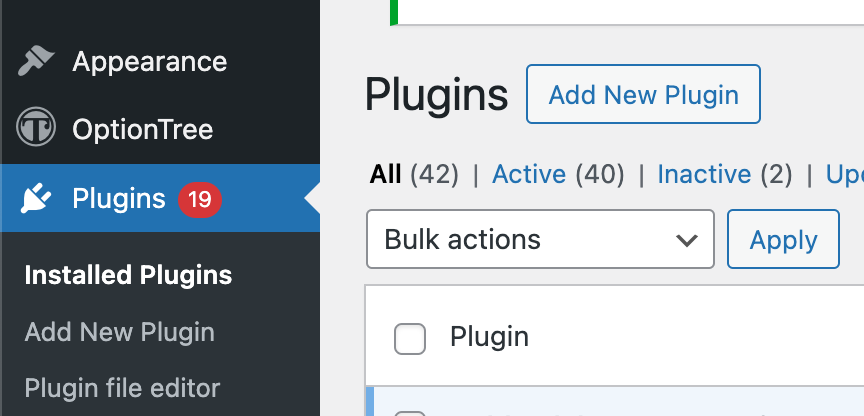
3. Click to "Upload Plugin" button.

4. Choose downloaded file from Step 1 and click Install Now
5. Click Activate.
Squarespace
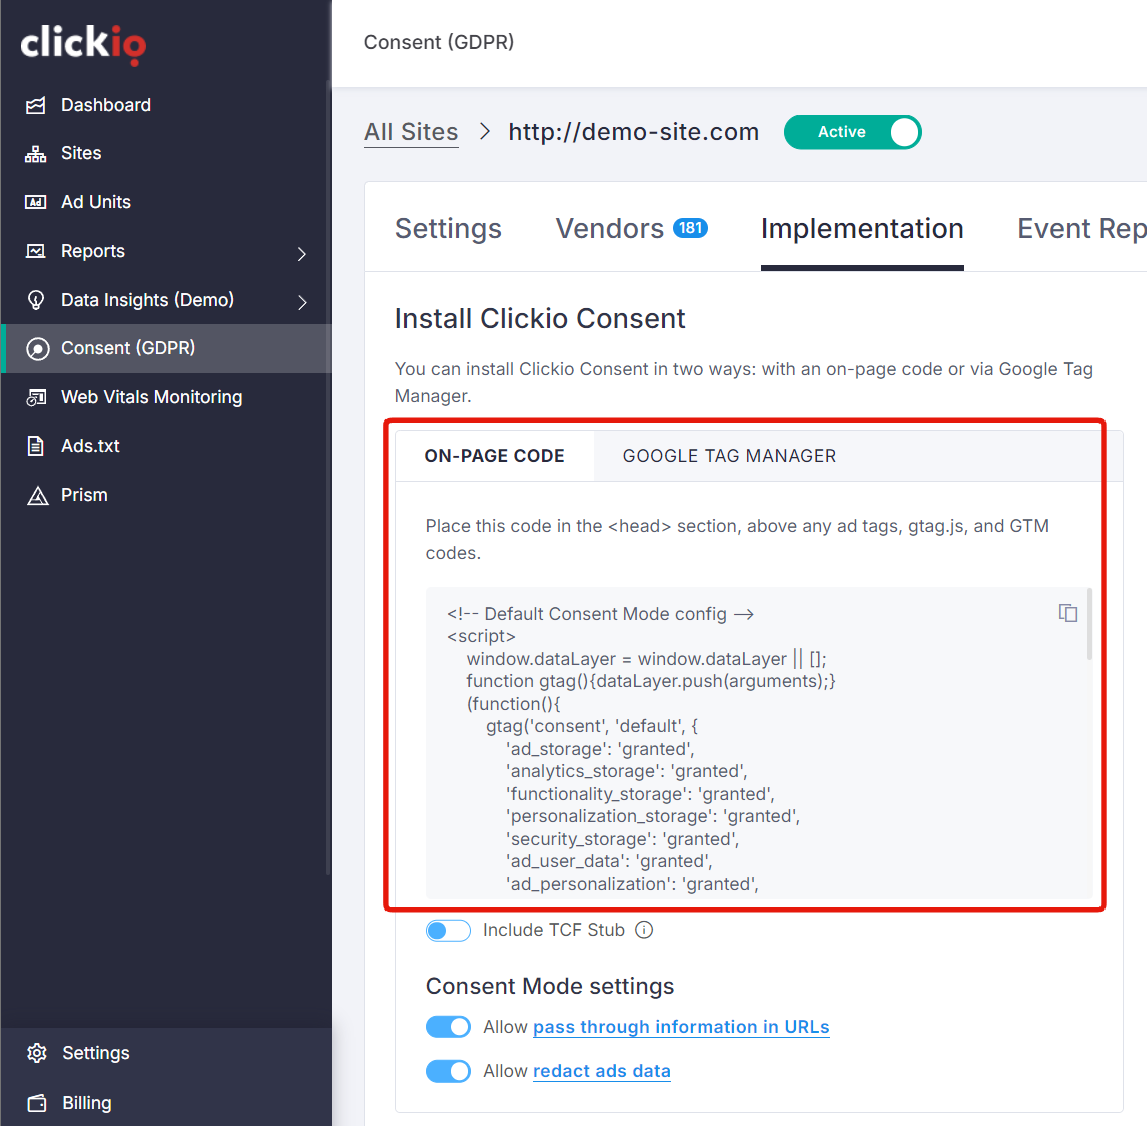
1. Log into your Clickio account. In the Consent > Implementation tab, find the "On-page Code".
2. Log into your Squarespace account.
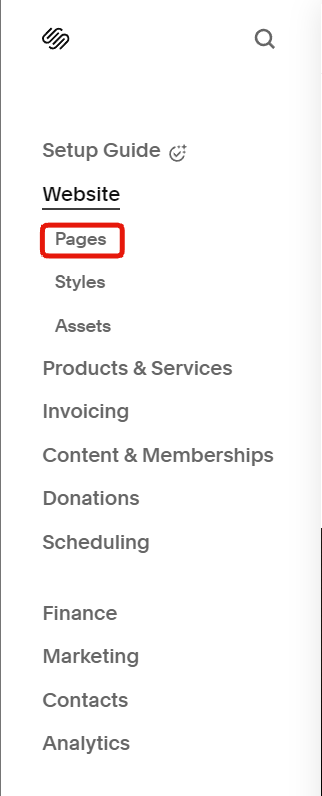
4. Click Website Tools.
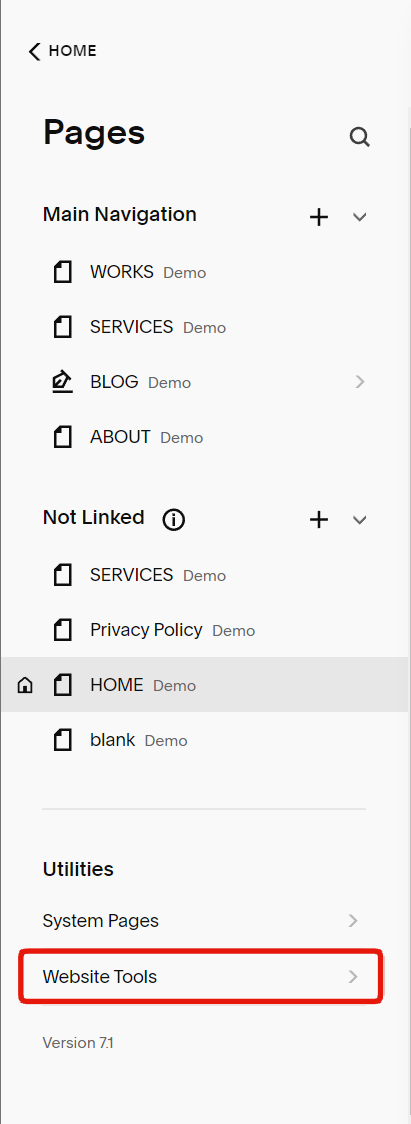
5. Click Code Injection.
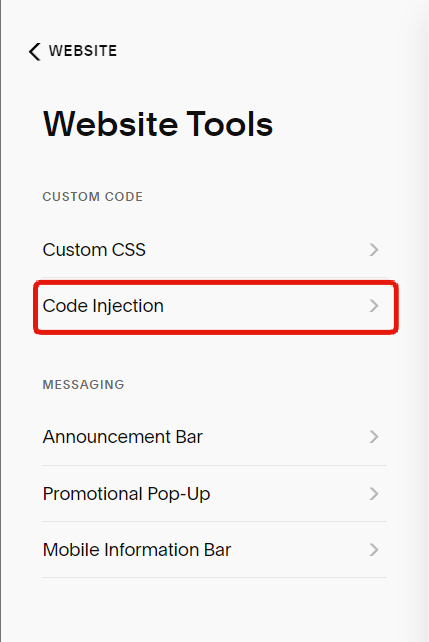
6. Copy On-page Code from step 1 to the Header section.
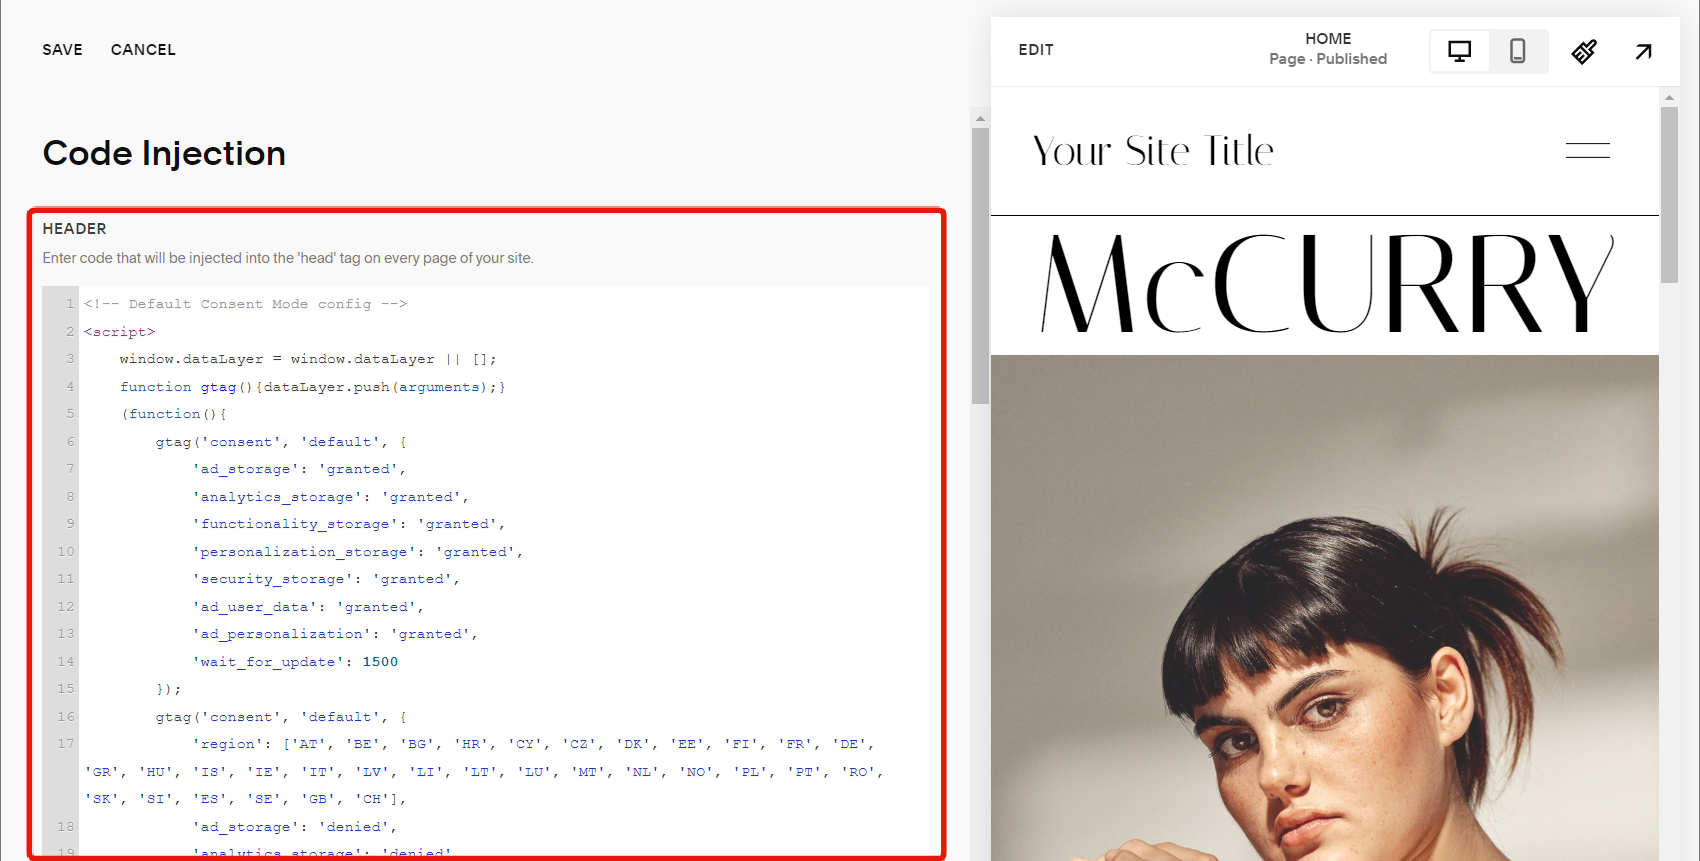
7. Click Save.
Webflow
1. Log into your Clickio account. In the Consent > Implementation tab, find the "On-page Code".
2. Log into your Webflow account.
3. Navigate to Site Settings > Custom code tab.
4. Add the On-Page Code from Step 1 to the Head code section.
5. Click Save changes.
Wix
1. Log into your Clickio account. In the Consent > Implementation tab, find the "On-page Code".
2. Login to your Wix account.
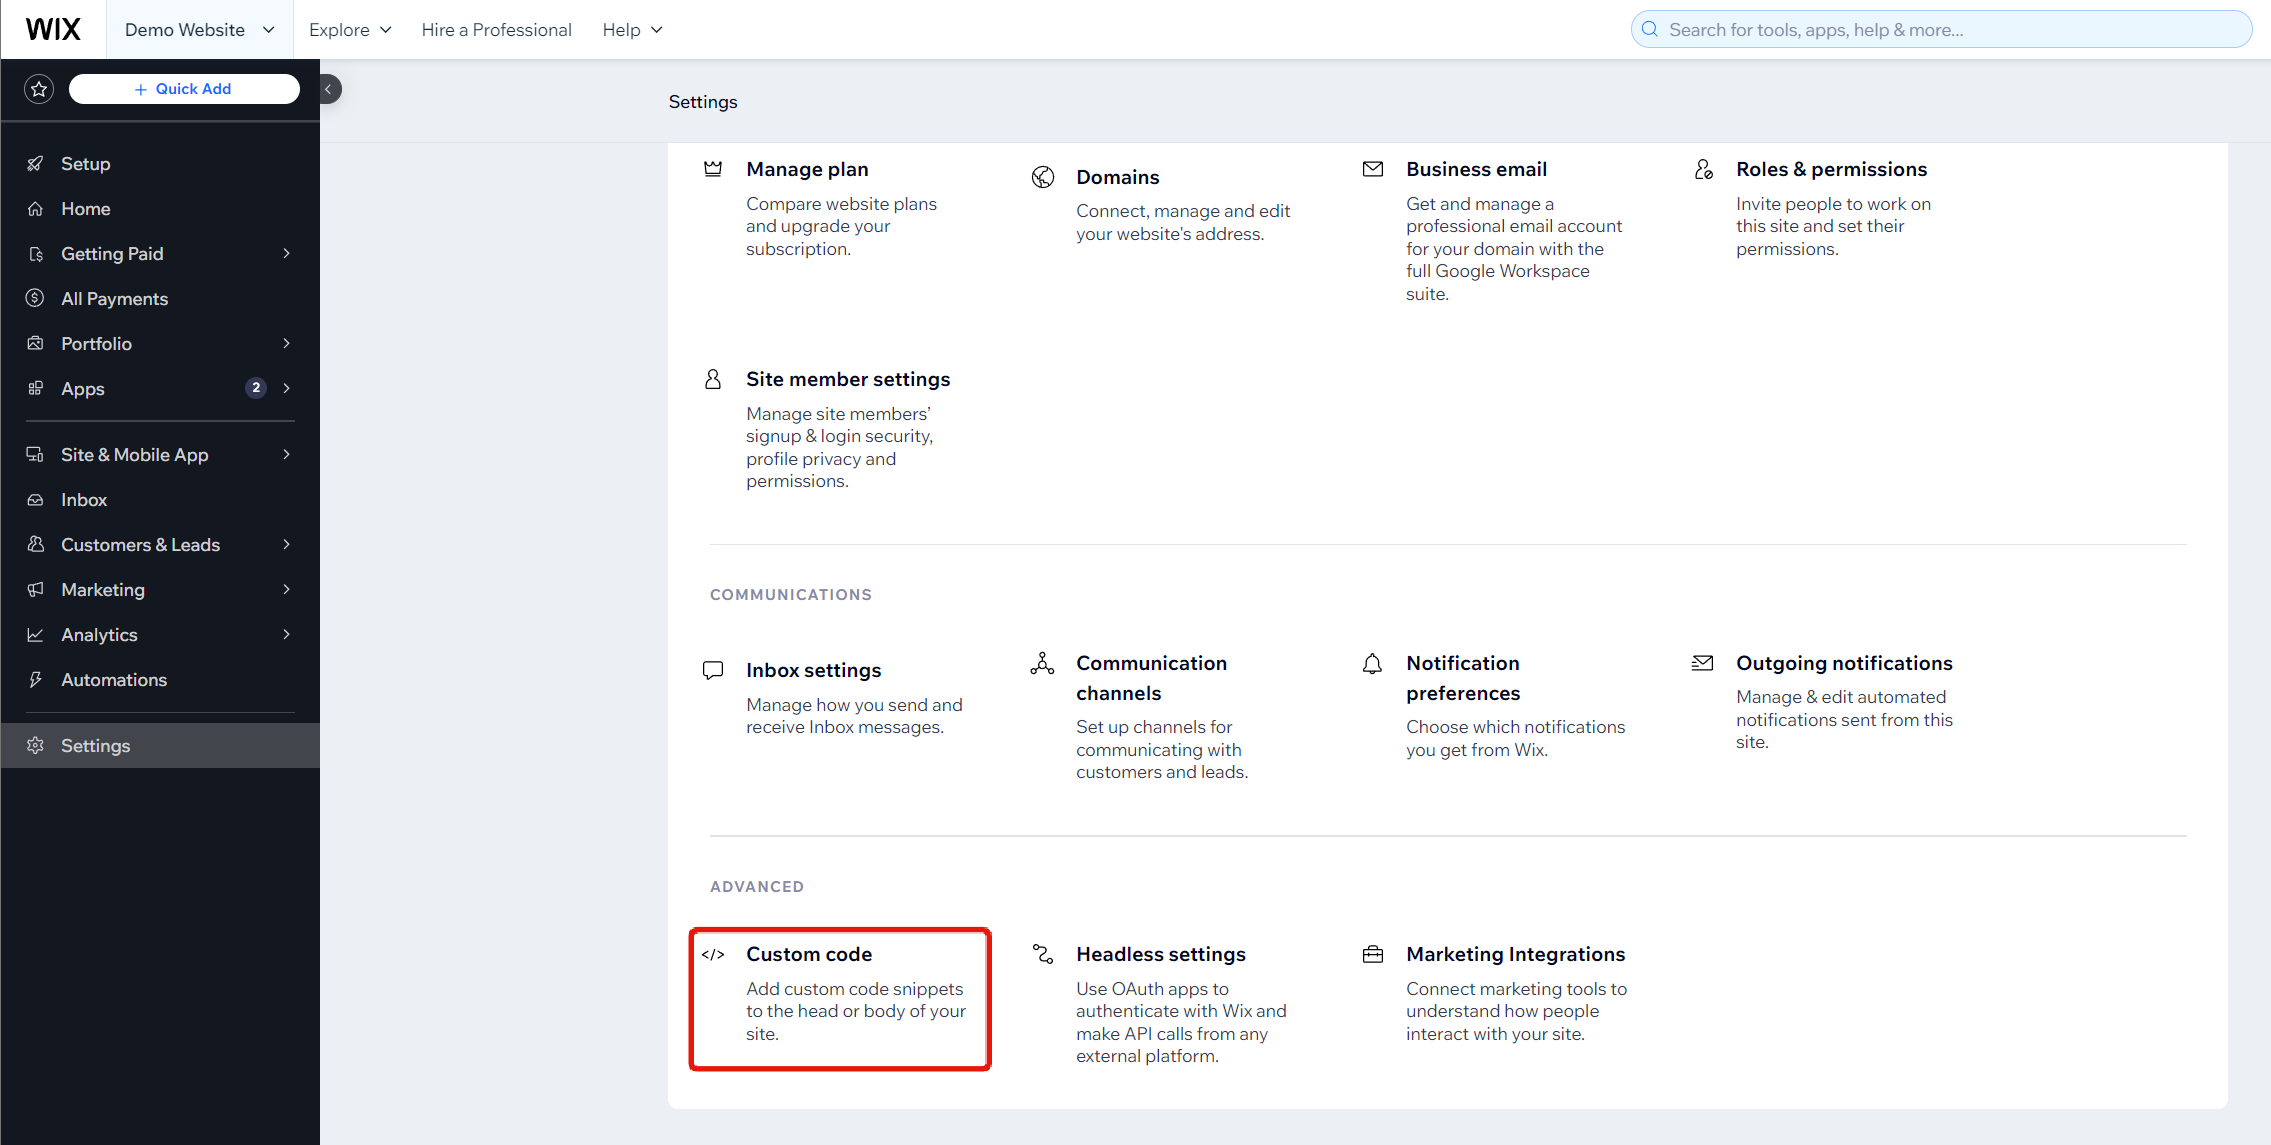
3. Navigate to Settings > Advanced > Custom Code.
4. Add a Custom Code with the following settings.
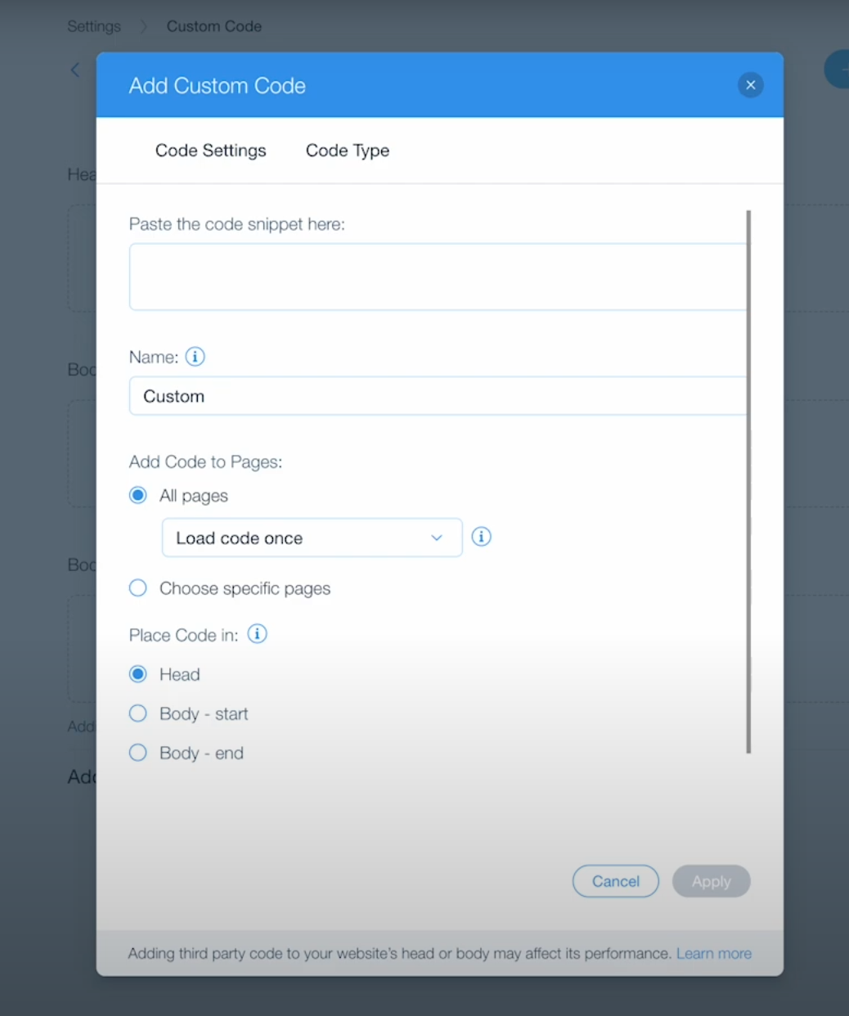
Paste On-page Code from Step 1 into the Code Snippet field
Name: Clickio Consent
All Pages: Load code Once
Place Code in: Head
5. Click Apply.
Joomla
1. Log into your Clickio account. In the Consent > Implementation tab, find the "On-page Code".
2. Login to your Joomla Dashboard.
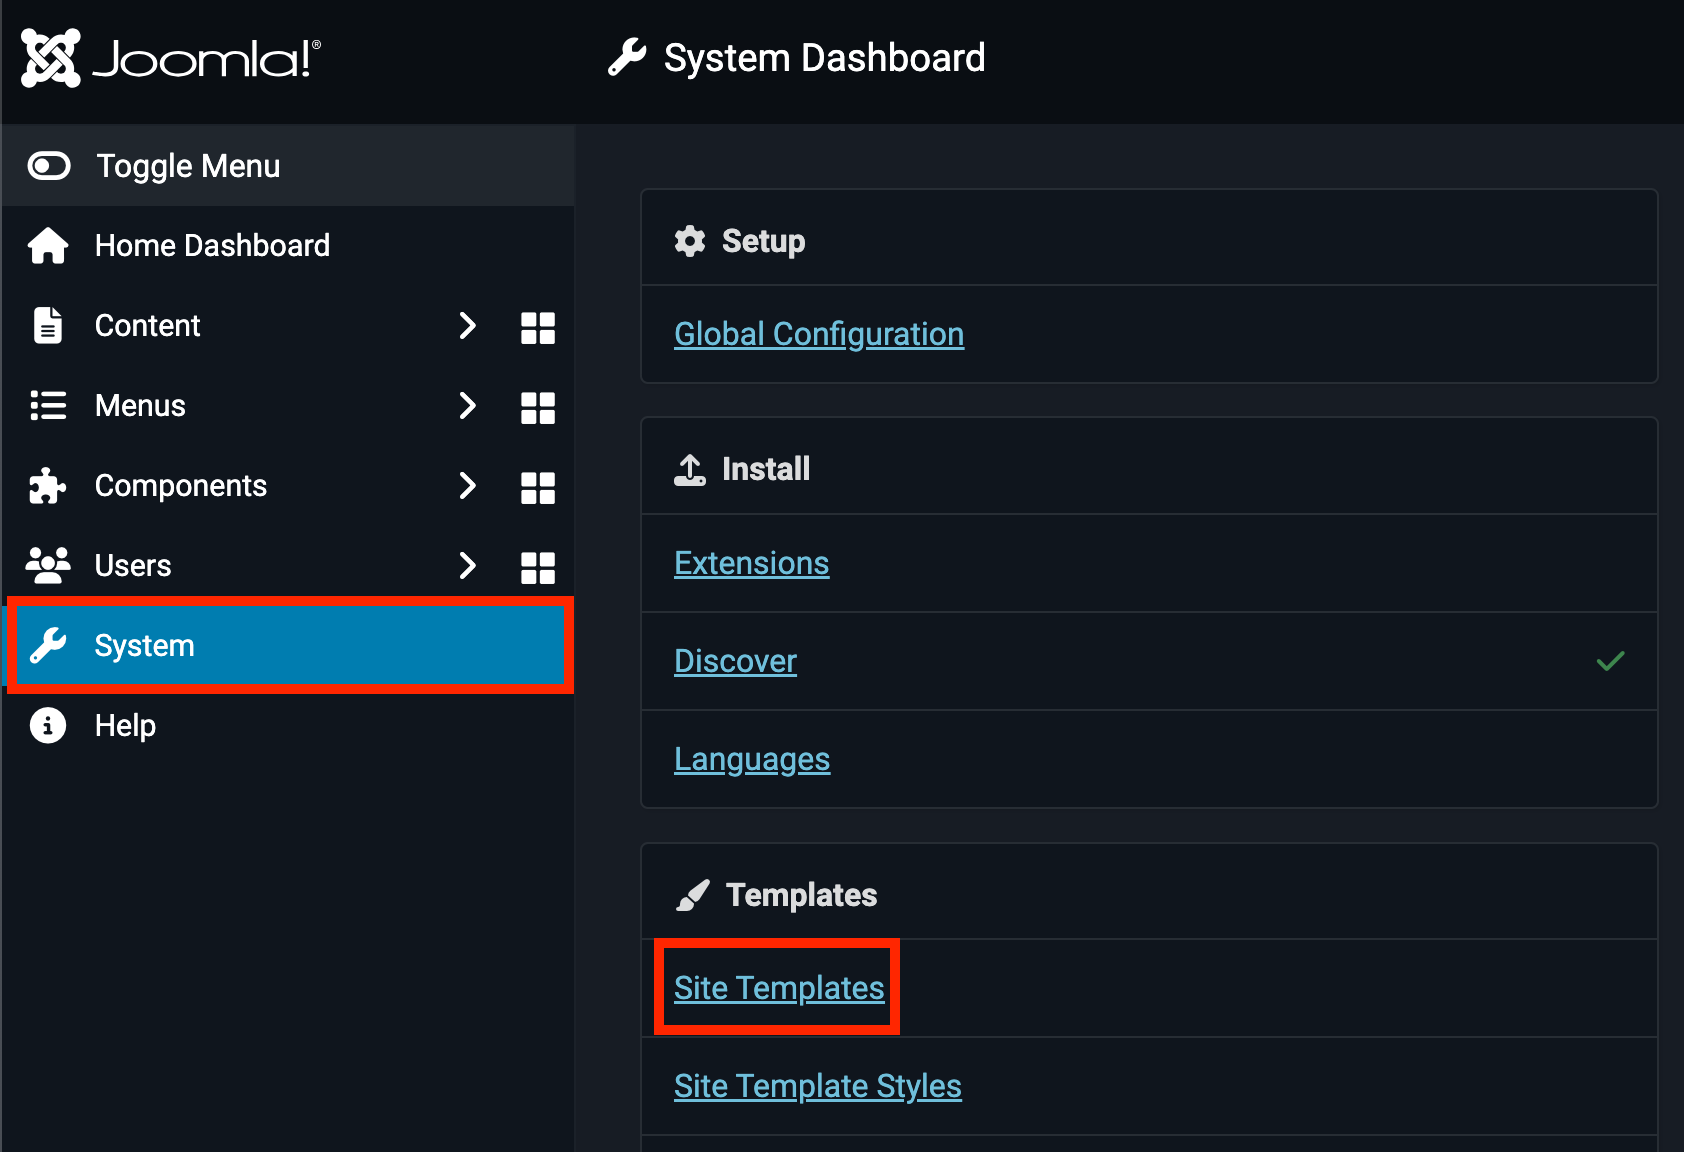
3. Click to your current template name.
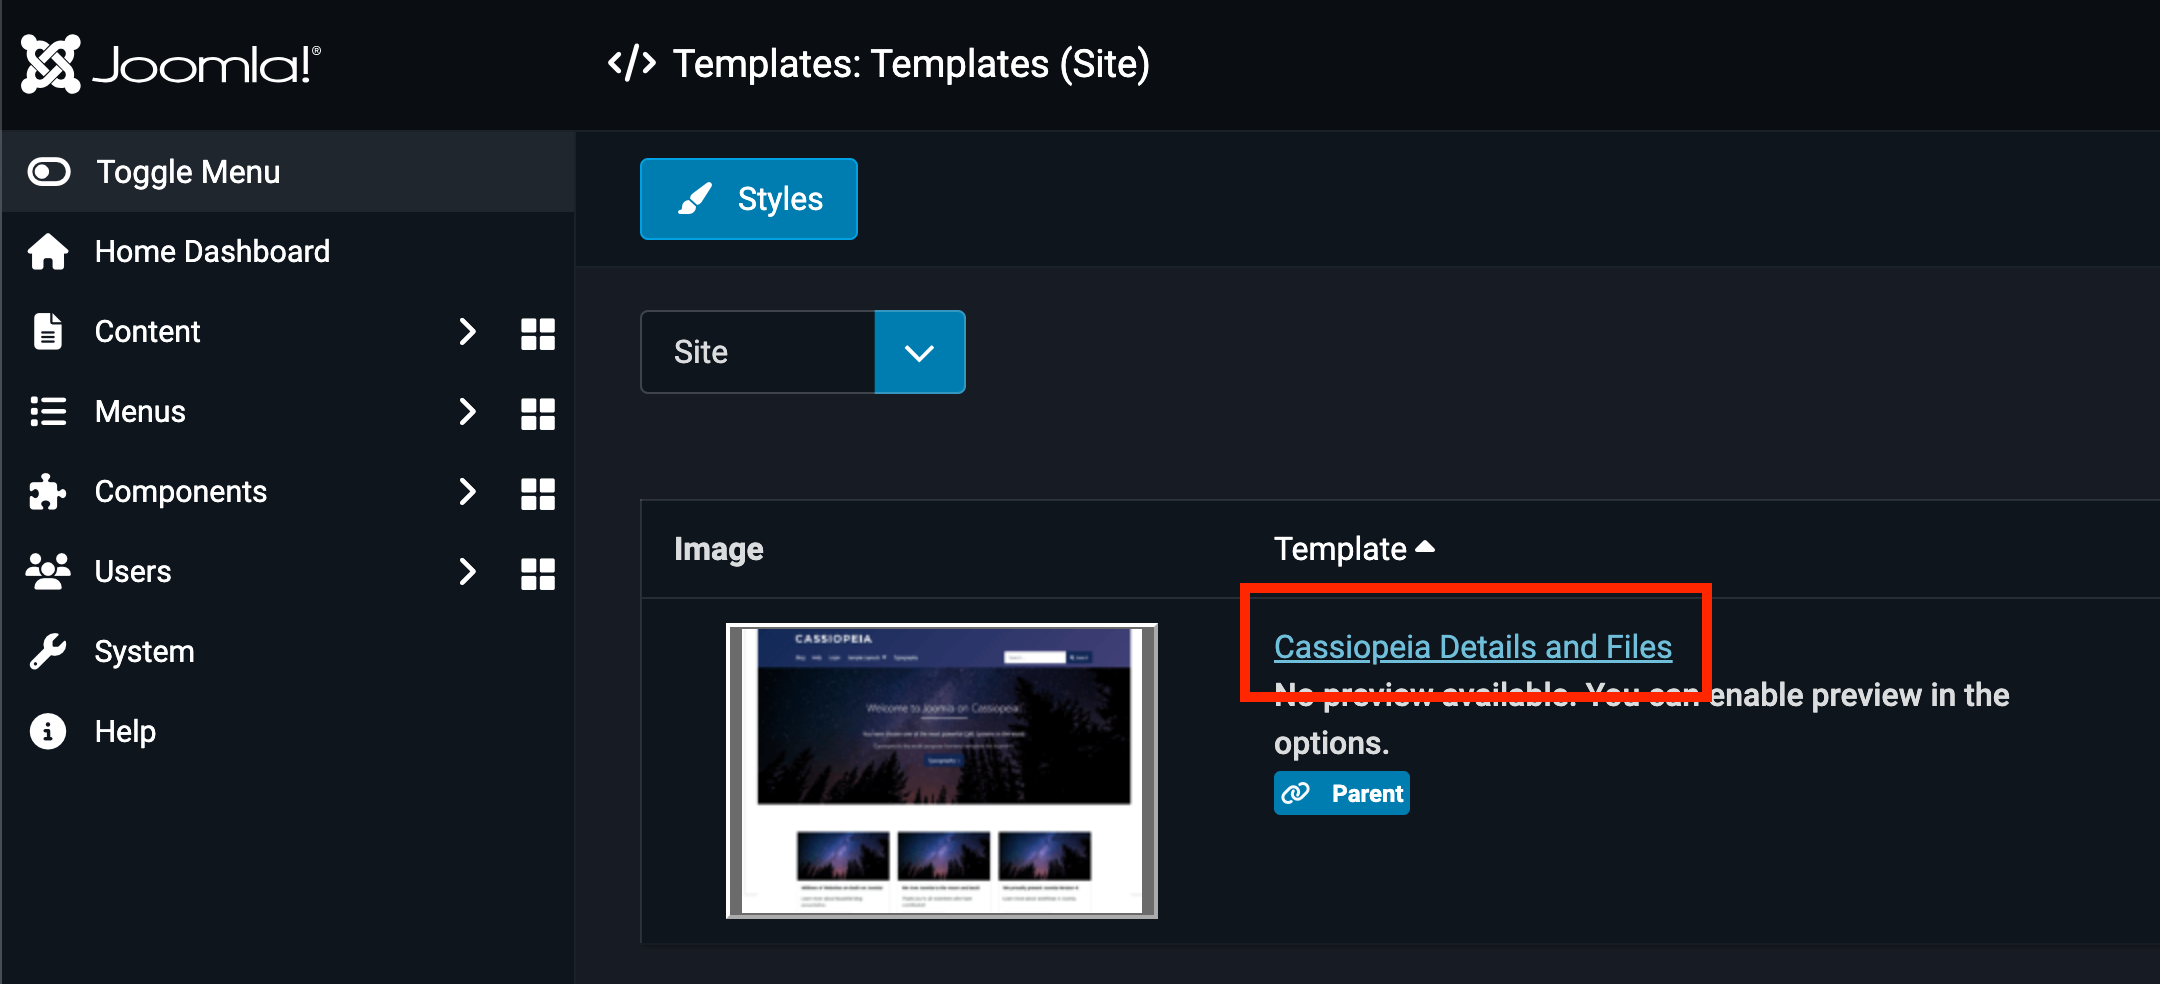
4. Select the index.php file.

5. Press Ctrl+F (Cmd+F) and search </head> tag.
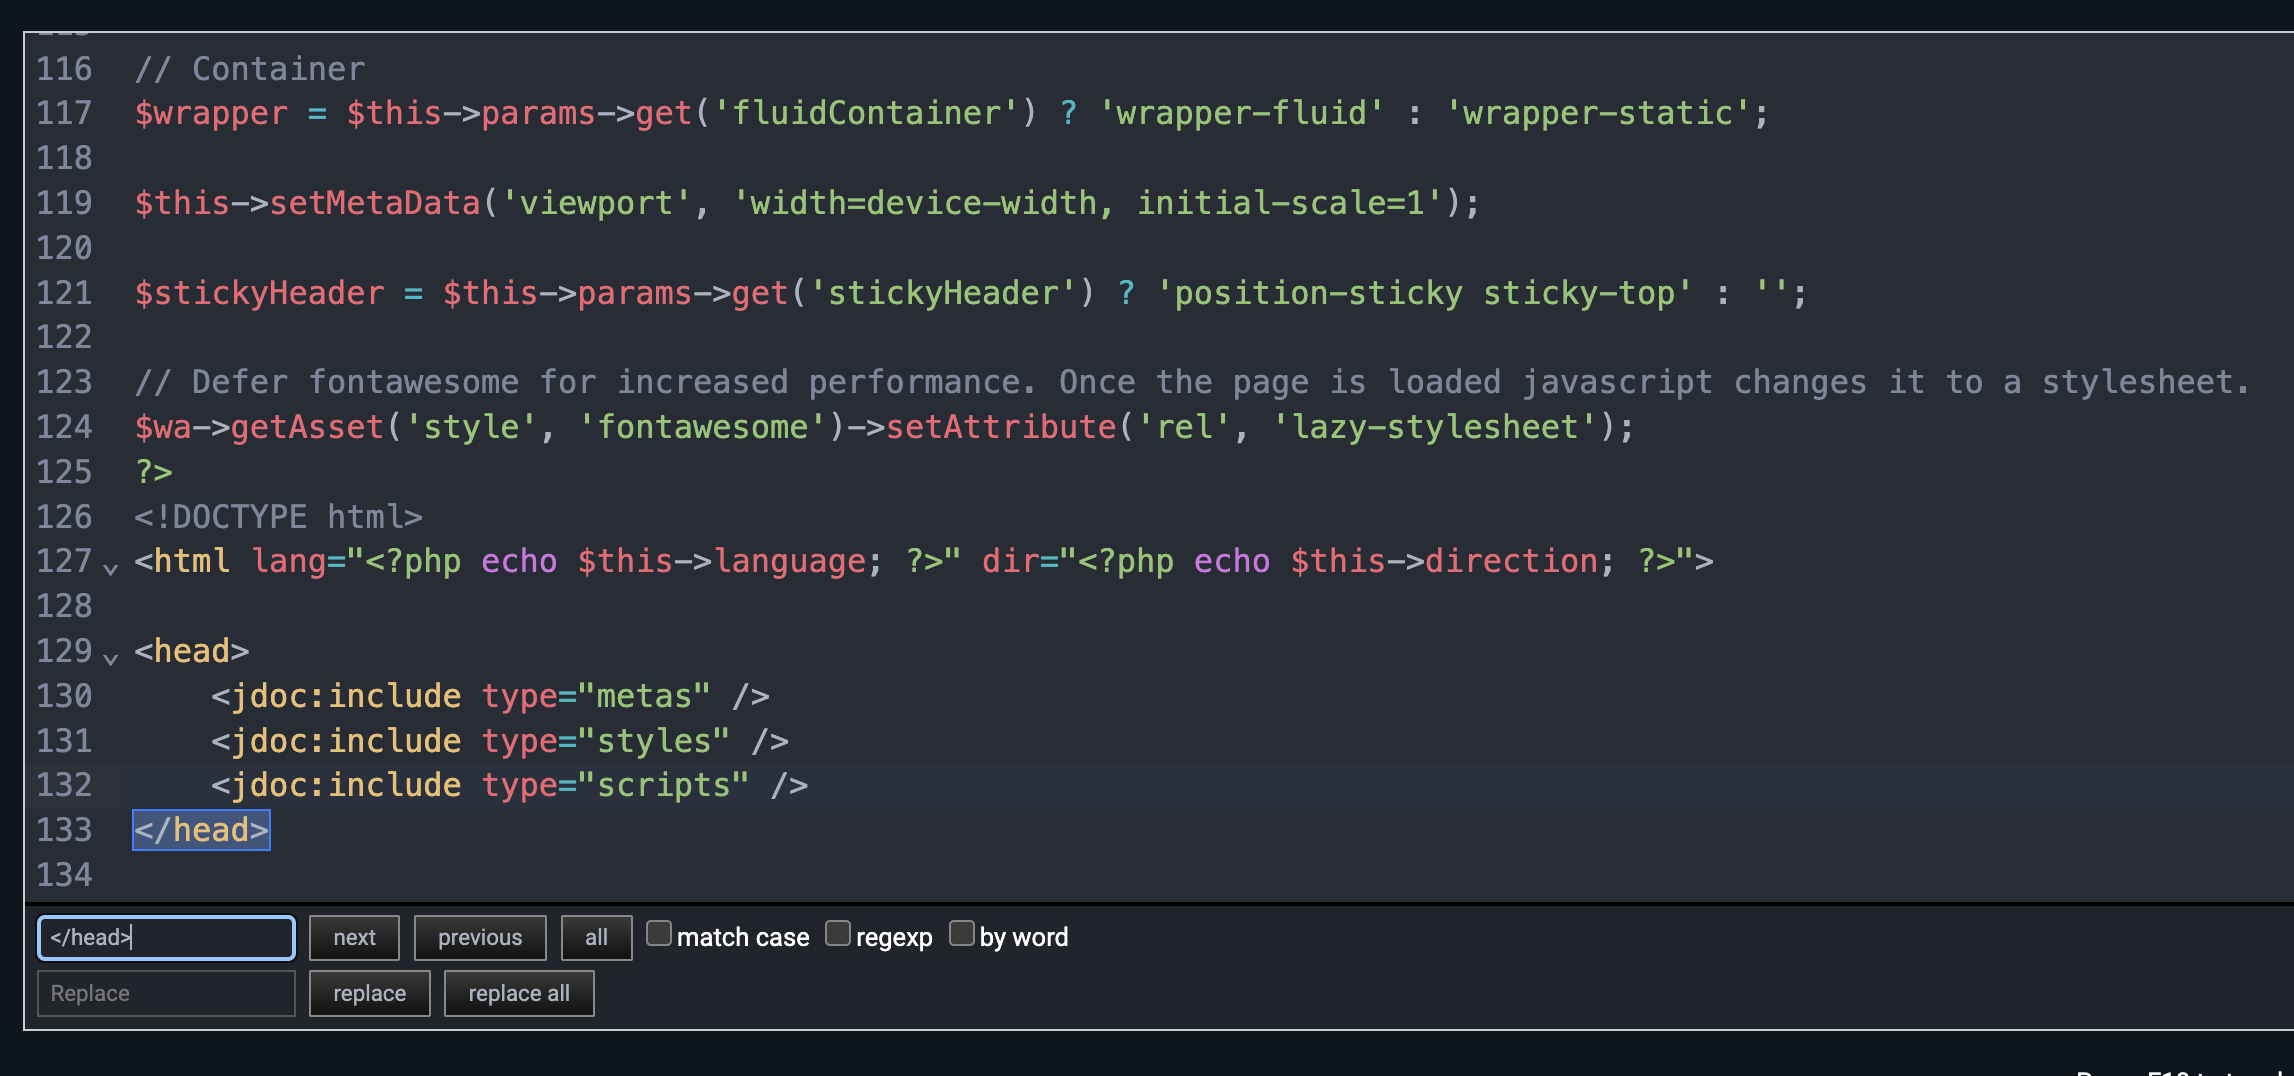
6. Paste On-page Code from Step 1 before the </head> tag.
7. Click Save & Close button.
Bubble.io
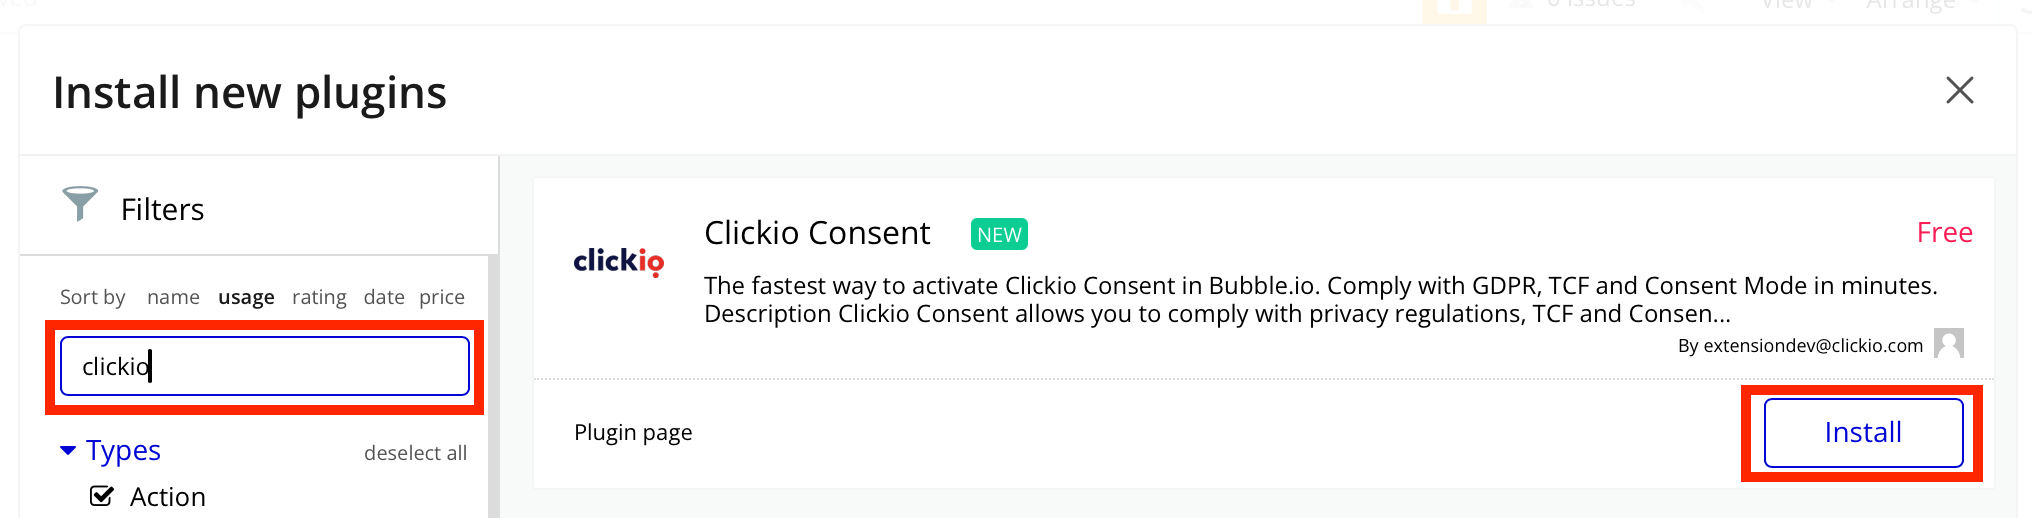
1. Log into your Bubble.io account, select your App.
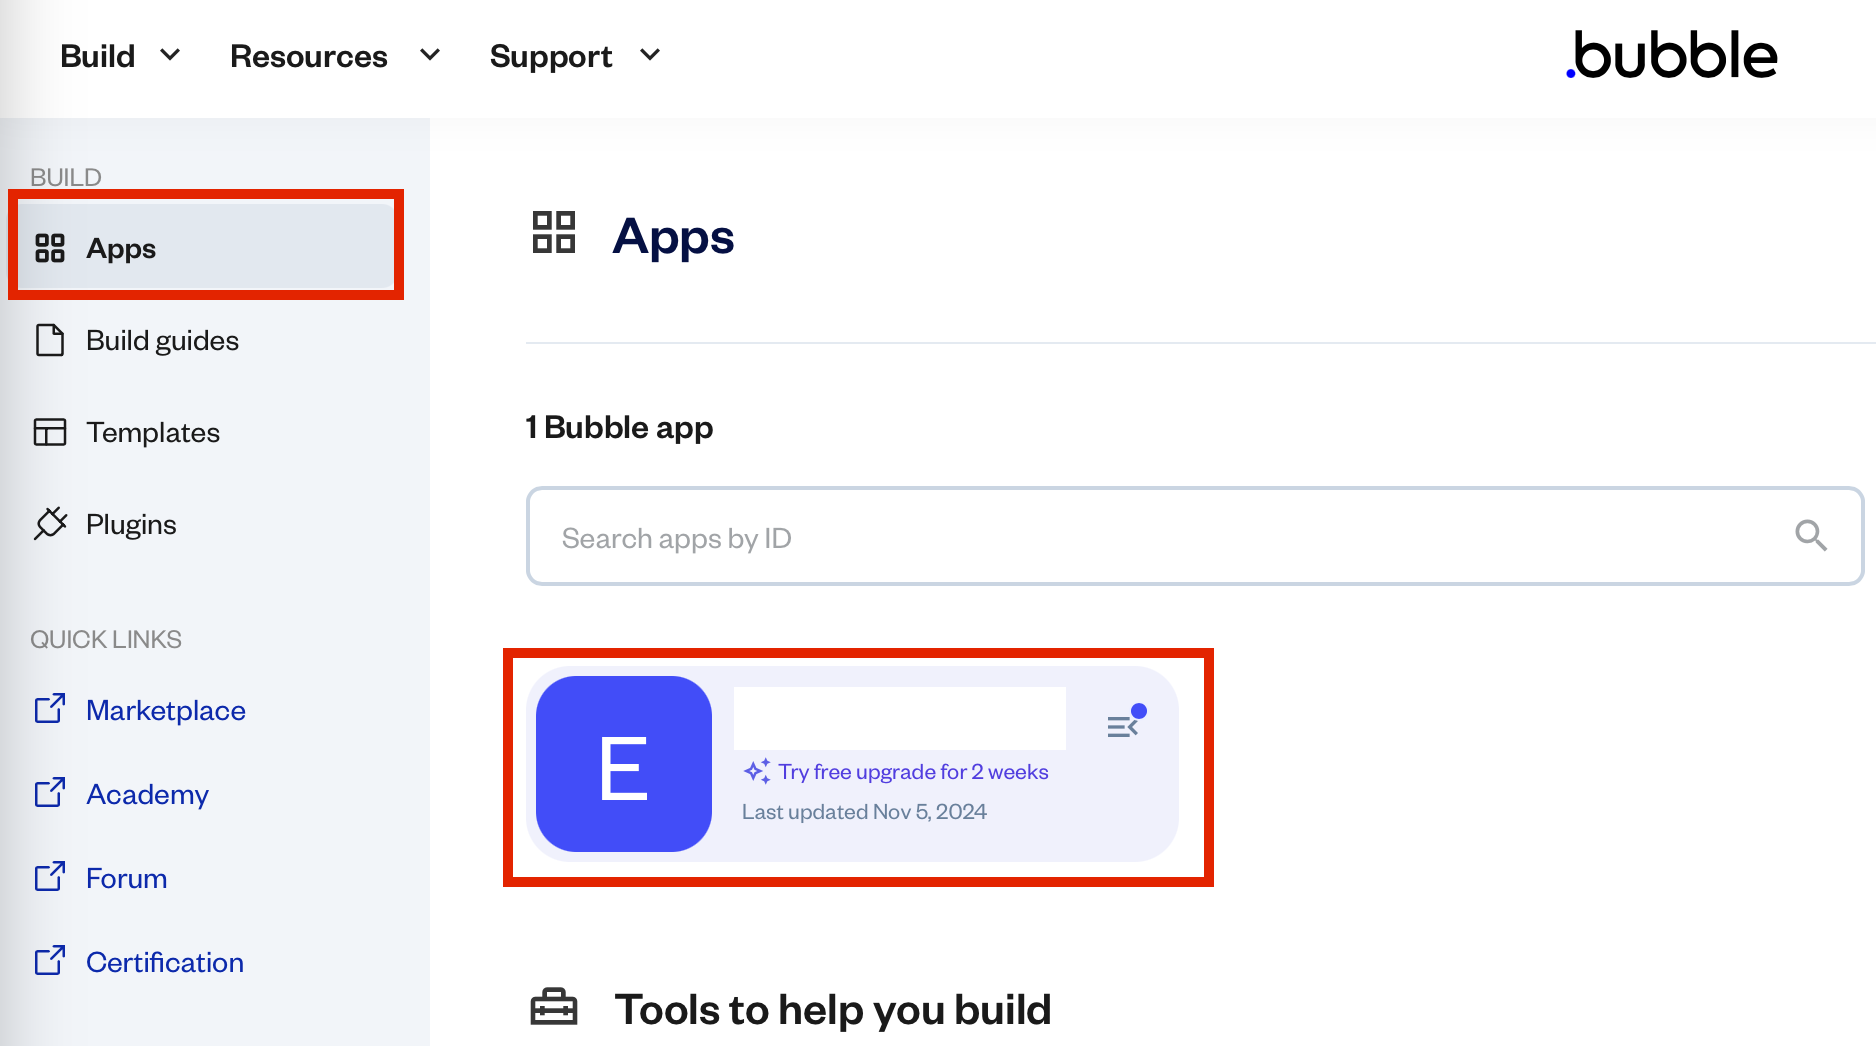

3. Search "clickio" and Install the Clickio Consent plugin
4. Choose installed plugin and configure the settings:
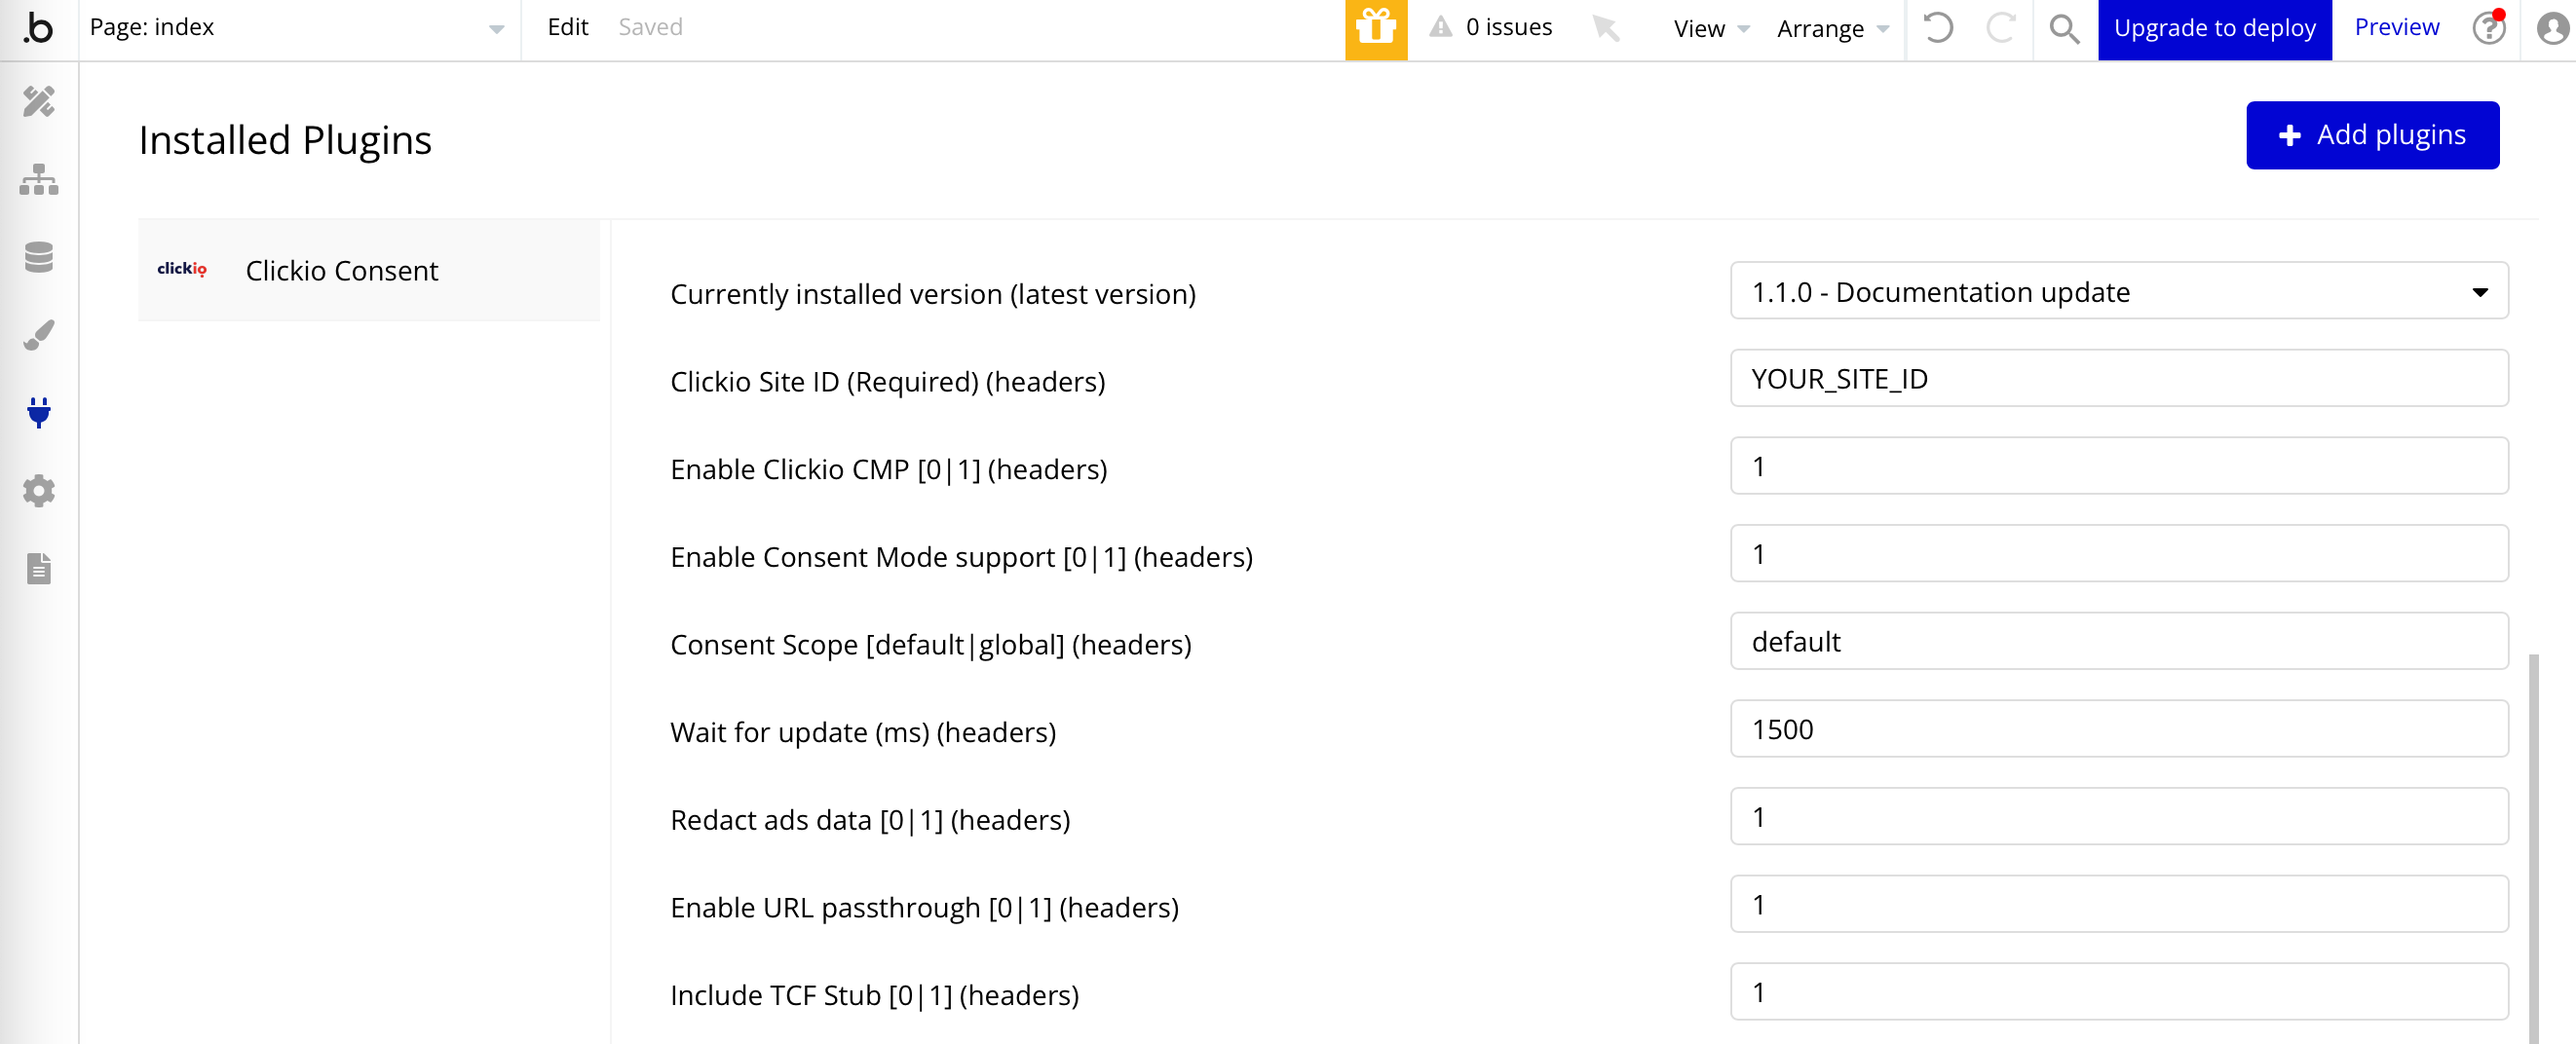
- Clickio Site ID - Place your Site ID from Clickio platform.
- Enable Consent Mode support - Set "1" to allow this plugin to automatically set default consent states and update consent states based on previous decisions made through Clickio CMP. This option functions correctly only when the 'Consent Mode support' feature is activated in the Clickio Consent settings UI. Ensure this feature is enabled to properly synchronize consent management across your site.
- Consent Scope - This setting defines the scope of default consent configurations. Set "default" to apply strict "denied" defaults only to users in the EEA, UK, and CH, while users in other regions will have a general default of "granted". Set "global" to apply "denied" defaults universally. Make sure this setting matches the equivalent setting in the Clickio CMP interface to avoid any conflicts.
- Wait for update (ms) - Default is 1500. This setting determines how long, in milliseconds, the Google tags should wait before attempting to update the user's consent state. This delay provides a buffer to ensure that any necessary consent changes are effectively captured, helping maintain alignment with user preferences.
- Redact ads data - When ad_storage is denied, ad click identifiers sent in network requests by Google Ads and Floodlight tags will be redacted. Set "1" to enable.
- Enable URL passthrough - Set "1" to enable pass through ad click, client ID, and session ID information in URLs.
- Enable Clickio CMP - Set "1" to automatically include Clickio CMP code on the page. Warning! Do not use this option if you have already installed the main code directly.
- Include TCF Stub - Installing the TCF stub can improve the reliability of your TCF implementation. Set "1" to enable. Additionally, if the "Allow Consent Mode to read TCF signals" setting is enabled, Google tags are able to read specific flags using TCF signals.
For more details, visit: https://docs.clickio.com/books/clickio-consent-cmp/chapter/technical-specification