Manual Integration with Scripts (Pausing & Executing) - for non-TCF mode
This article is intended for those who use non-TCF Mode.
Modification Example for inline scripts: When adding Clickio CMP to your site, it’s crucial to ensure that all vendor tags comply with user consent choices, thereby safeguarding privacy and adhering to GDPR requirements.
Clickio CMP automatically pauses Google ad tags until users make their consent choices, and then activates them based on those choices.
Pausing Tags Until User Choice Is Made
- Update the script type to
text/clickiocmp. -
Add the
asyncattribute to the script tags that have asrcattribute.
Modification Example for inline scripts:
Change your script from its original state:
<script type="text/javascript">
	[[CODE]]
</script>
To a choice-aware configuration:
<script type="text/clickiocmp">
	[[CODE]]
</script>
Modification Example for scripts scripts with a src attribute:
Change your script from its original state:
<script type="text/javascript" src="https://yoursite.com/script.js"></script>To a choice-aware configuration:
<script async type="text/clickiocmp" src="https://yoursite.com/script.js"></script>If you use Google Tag Manager
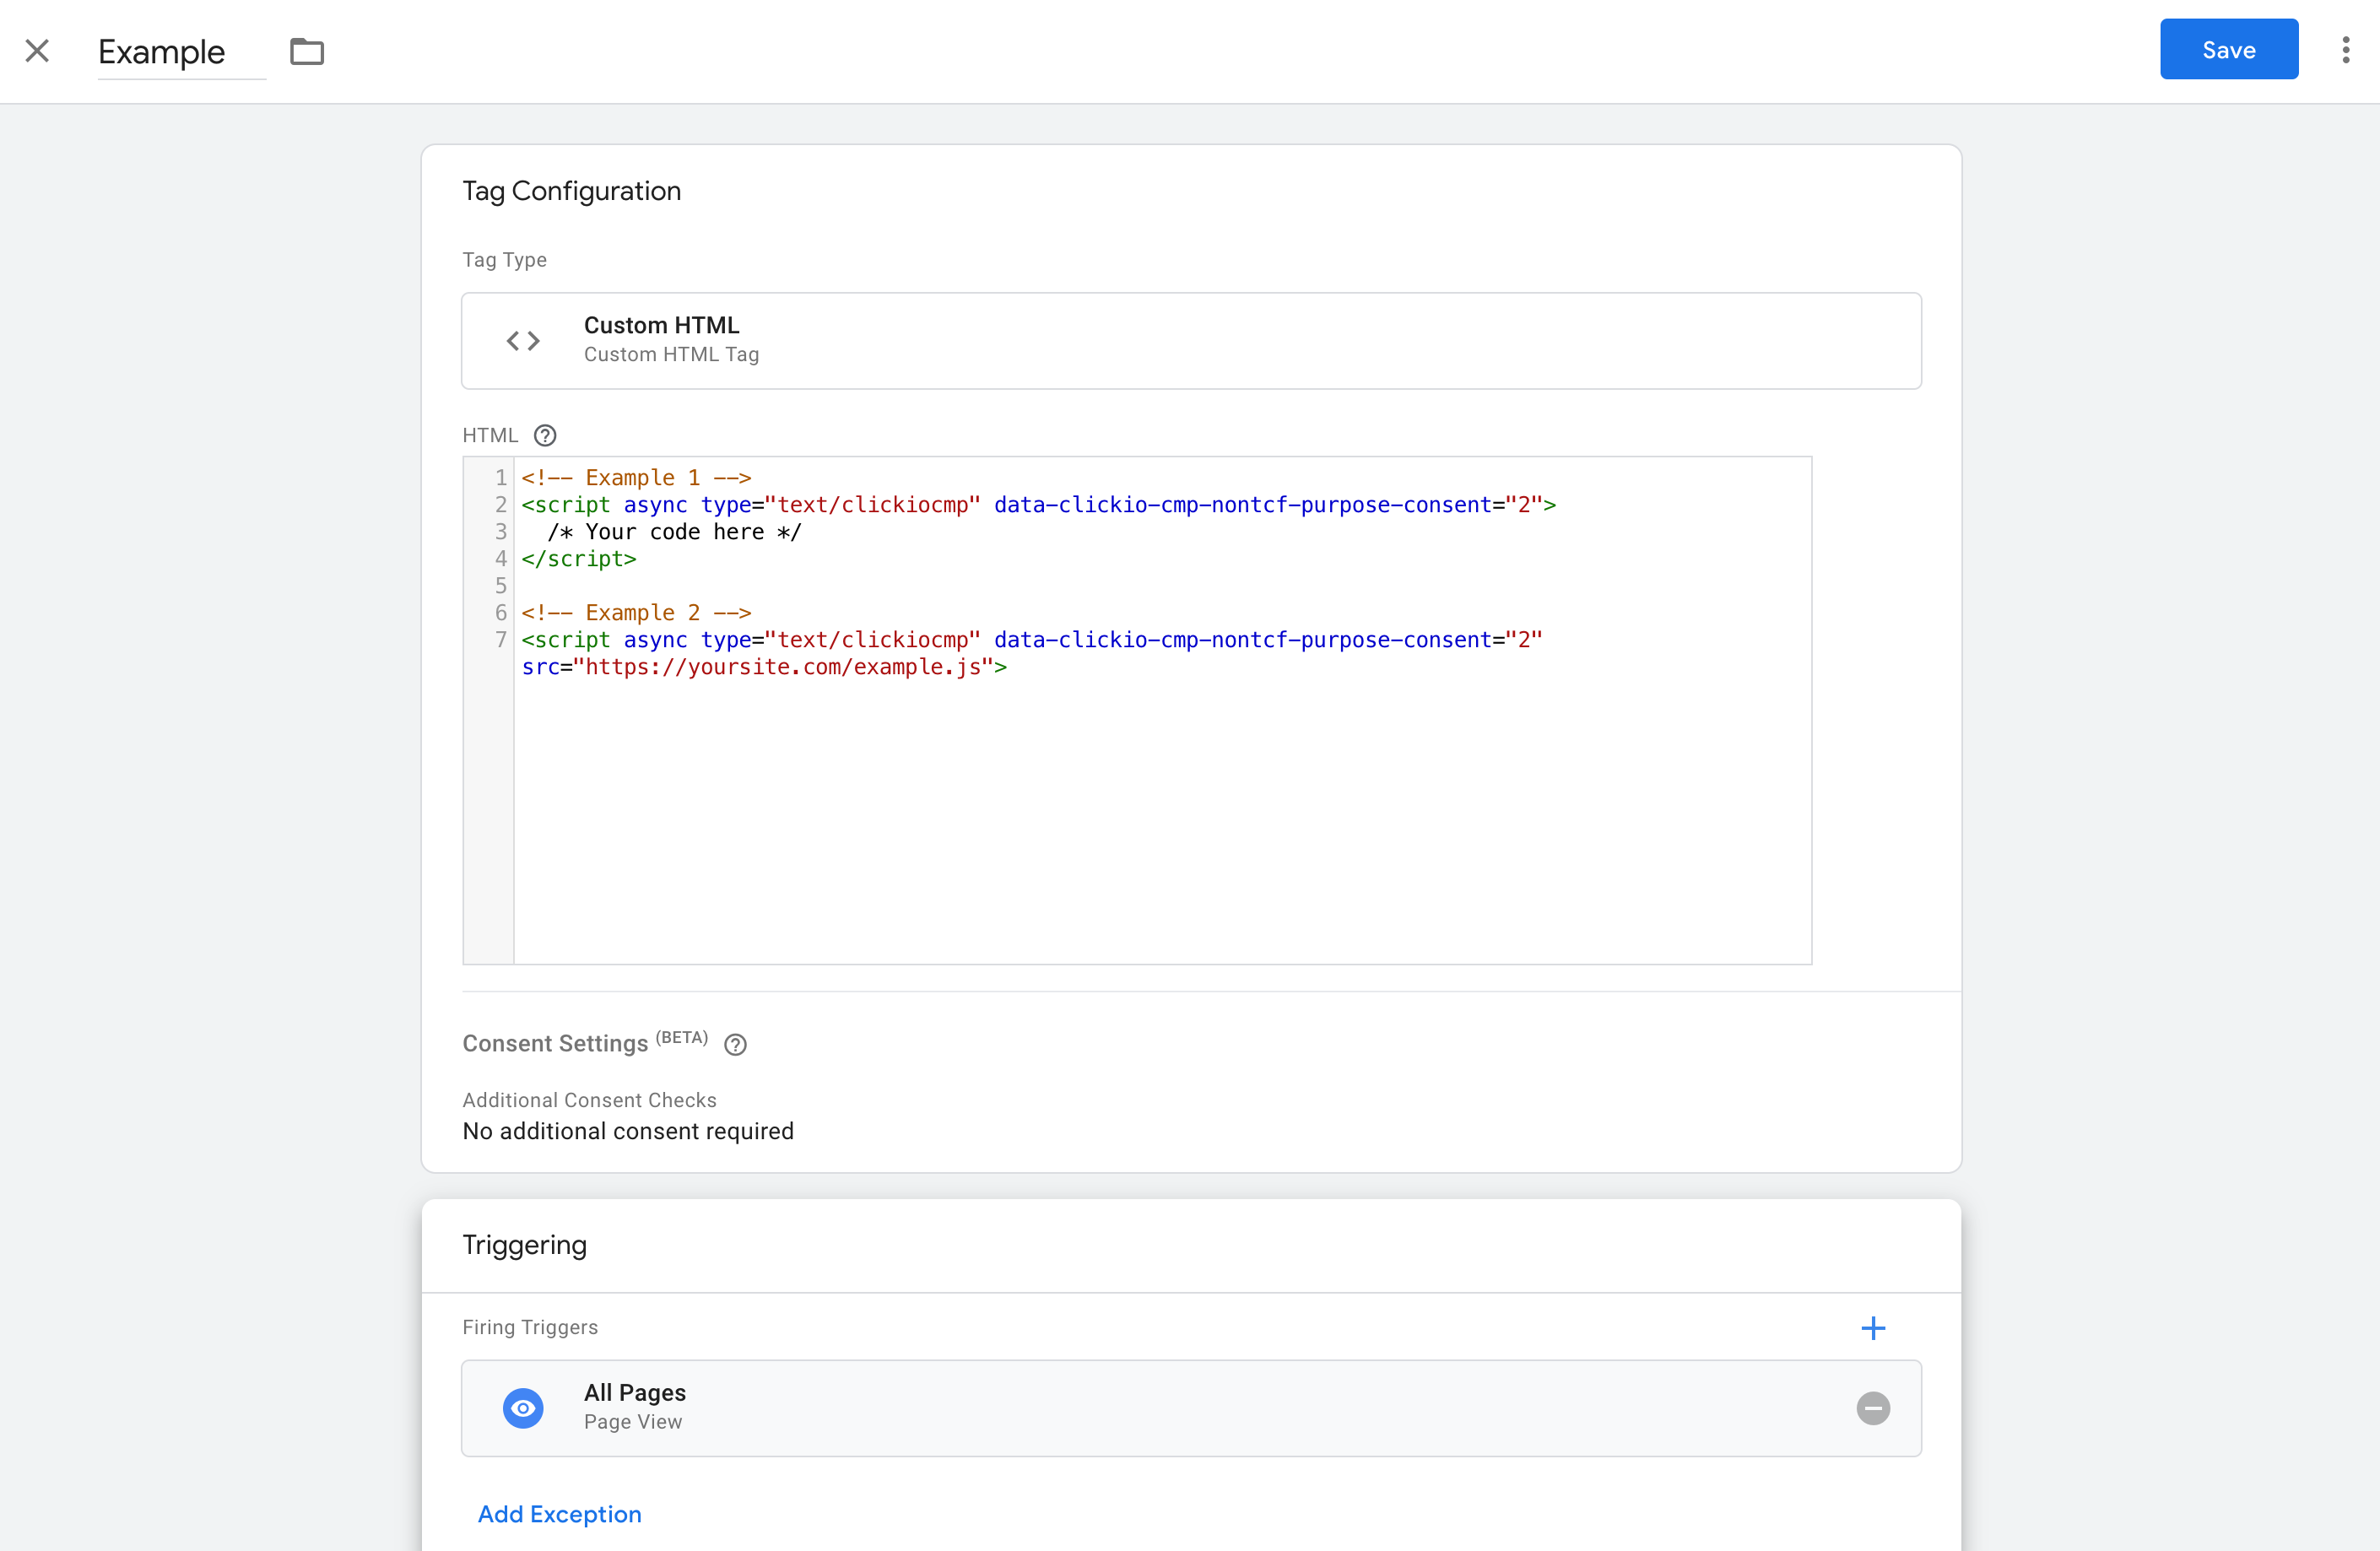
Additional Parameters
Clickio CMP allows for the fine-tuning of script execution conditions through the use of additional optional parameters. These parameters enable website owners to tailor the behavior of their scripts based on various criteria, such as the user's GDPR applicability, specific consents given, and even the user's subscription or login status.
When using multiple parameters, they work together under an AND condition. This means the script will only execute if all specified conditions are met.
data-clickio-cmp-gdpr
Checks whether the user is in the GDPR scope that is chosen in the Consent settings. It can be either EEA/UK users, or All users (global scope).
Example:
<script type="text/clickiocmp" data-clickio-cmp-gdpr="1">
	console.log('GDPR user');
</script>

<script type="text/clickiocmp" data-clickio-cmp-gdpr="0">
	console.log('Non-GDPR user');
</script>
data-clickio-cmp-nontcf-purpose-consent
Can be an integer or a comma separated list of integers of IDs of non-TCF purposes for which consent is mandatory for script execution.
Example:
<script type="text/clickiocmp" data-clickio-cmp-nontcf-purpose-consent="2">
	console.log('user approved Website Analytics (id:2)');
</script>
data-clickio-cmp-custom-purpose-consent
Can be an integer or a comma separated list of integers of IDs of Custom purposes for which consent is mandatory for script execution.
Example:
<script type="text/clickiocmp" data-clickio-cmp-custom-purpose-consent="27">
	console.log('user approved Custom Purpose (id:27)');
</script>