Custom Alert Settings
With Clickio Web Vitals Monitoring, you can easily configure alert settings to receive emails when CWV falls below a certain threshold so you can take immediate action.
Alerts are not available in Free and Starter plans. To upgrade the plan, follow these instructions.
Please note that at the moment alerts are activated only for mobile traffic.
Follow the instructions below to set up alerts.
1. In the Web Vitals Product tab, open the Alerts section by clicking the bell icon.

2. Enable the notification system and adjust alert triggers:
- Web Vitals decrease (%) is the percentage decrease in LCP/FID/CLS that triggers the alert, compared to the average of the previous 3 days.
- Minimum number of requests is the number of daily requests for which no alerts are triggered.
We recommend setting up the Web Vitals decrease (%) level to 8 with a Minimum number of requests of 500.
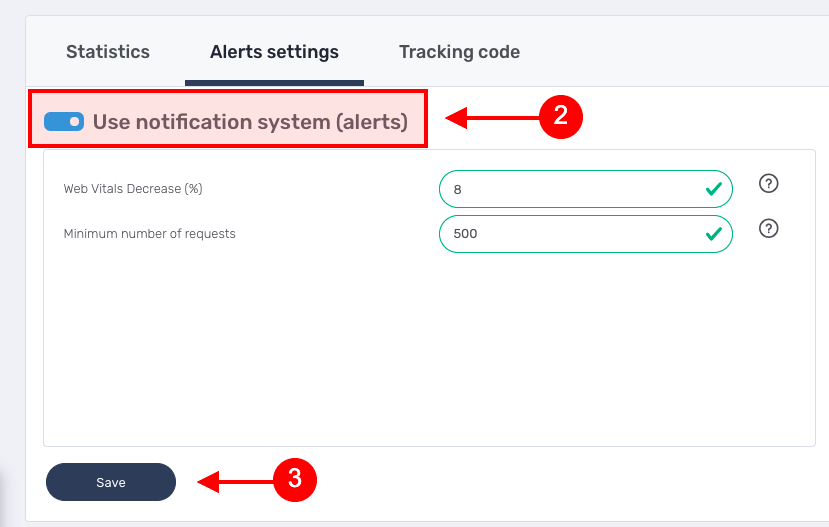
3. Click Save.
By default, alerts will be sent to all email addresses listed as technical users in the Settings tab (including the email address used to activate the account).
How to add a new email address for alert notifications?
1. In the Alerts settings tab click Add email button and insert the email address to send notifications to. Click Save.
2. Enable the toggle Use on this site for that email address.

3. Verify your email address by clicking the link in the confirmation email.
4. Once verified, the email address will be marked as verified with the green check icon.