Activation process for Clickio publishers
How to activate Web Vitals Monitoring?
By default, all Clickio publishers have access to a Free Product Plan that includes Web Vitals Monitoring for one site only. To upgrade your plan, follow these instructions.
To activate Clickio Web Vitals Monitoring for your site, please follow the steps below.
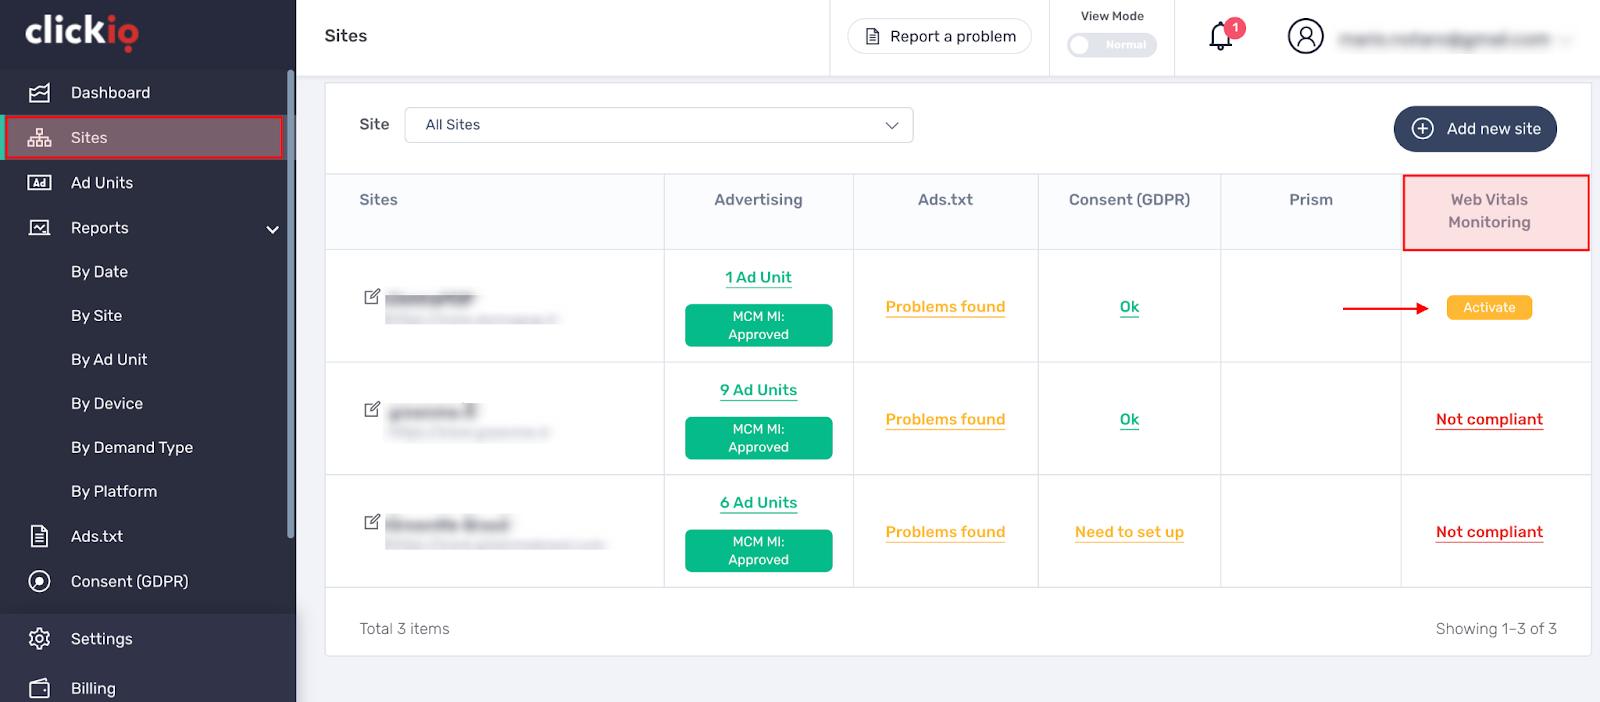
- On the Sites tab, in the Web Vitals Monitoring column, click Activate for the site for which you want to enable CWV data monitoring.
How to enable data collection for Clickio Web Vitals Monitoring?
1. Clickio Header Code is installed on your site
To enable data collection, please follow the instructions below.
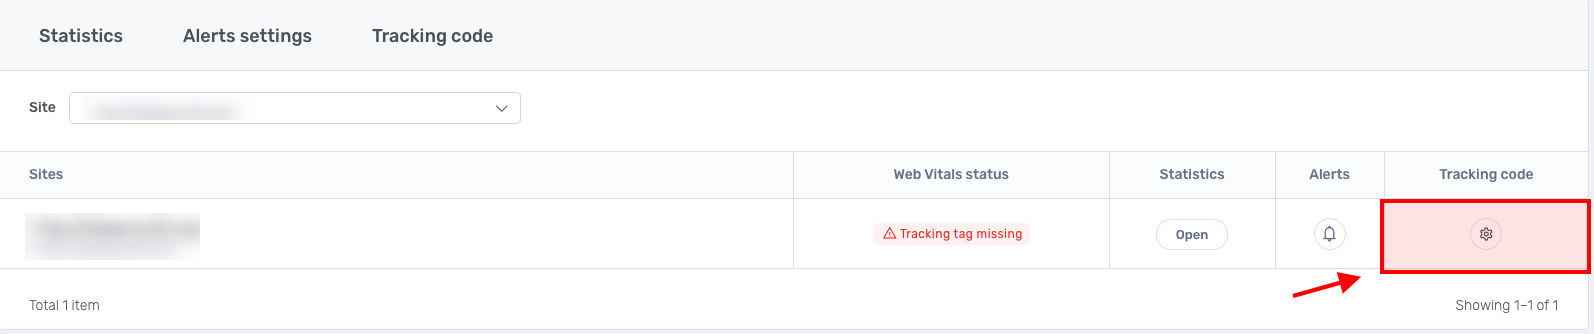
1. On the Web Vitals Product tab, open the Tracking code section by clicking the gear icon.
2. Enable data collection via ad header tag (360.js) by selecting the appropriate checkbox. Click Save.
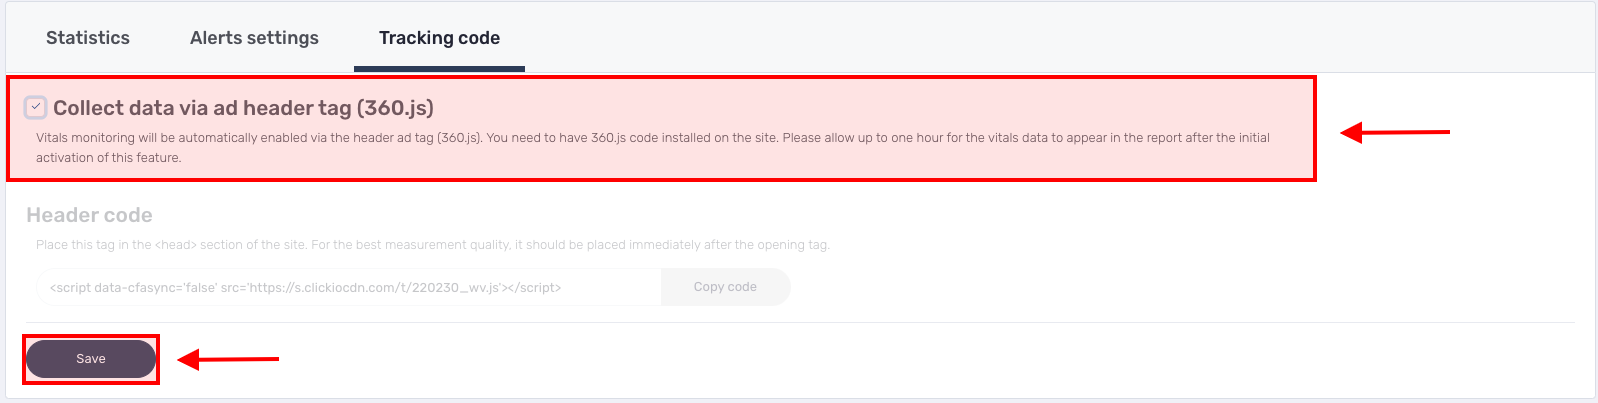
3. Once enabled, data collection starts automatically and the Web Vitals Status is set to Collecting Data. The first results from Core Web Vitals Monitoring will appear after several hours of data collection.
2. Clickio Header Code is not installed on your site
To enable data collection, please follow the instructions below.
1. On the Web Vitals Product tab, open the Tracking code section by clicking the gear icon.

2. Copy the Header code and place it in the <head> section of the site. For the best measurement quality, it should be placed immediately after the opening tag.

3. Once installed, data collection starts automatically and the Web Vitals Status is set to Collecting Data. The first results from Core Web Vitals Monitoring will appear after several hours of data collection.